Comme on l’a évoqué dans le précédent article sur Sybase, depuis la version 15.7 de Sybase il n’existe qu’une version 64 bits et Sybase ne donne plus gratuitement de clients 32 bits pour Linux, on va donc essayer de récupérer une ancienne version 32 bits et installer la partie client qui nous intéresse pour pouvoir accéder au serveur sybase.
Commencer par récupérer l’ancienne version ASE 15.5, puis dezipper la et commencer l’install (en mode console ici) :
root@tocNewServer:~# tar xvfz ase155esd2_linuxx86.tgz
root@tocNewServer:~# cd sybase_32
root@tocNewServer:~/sybase_32# ./setup.bin -i console
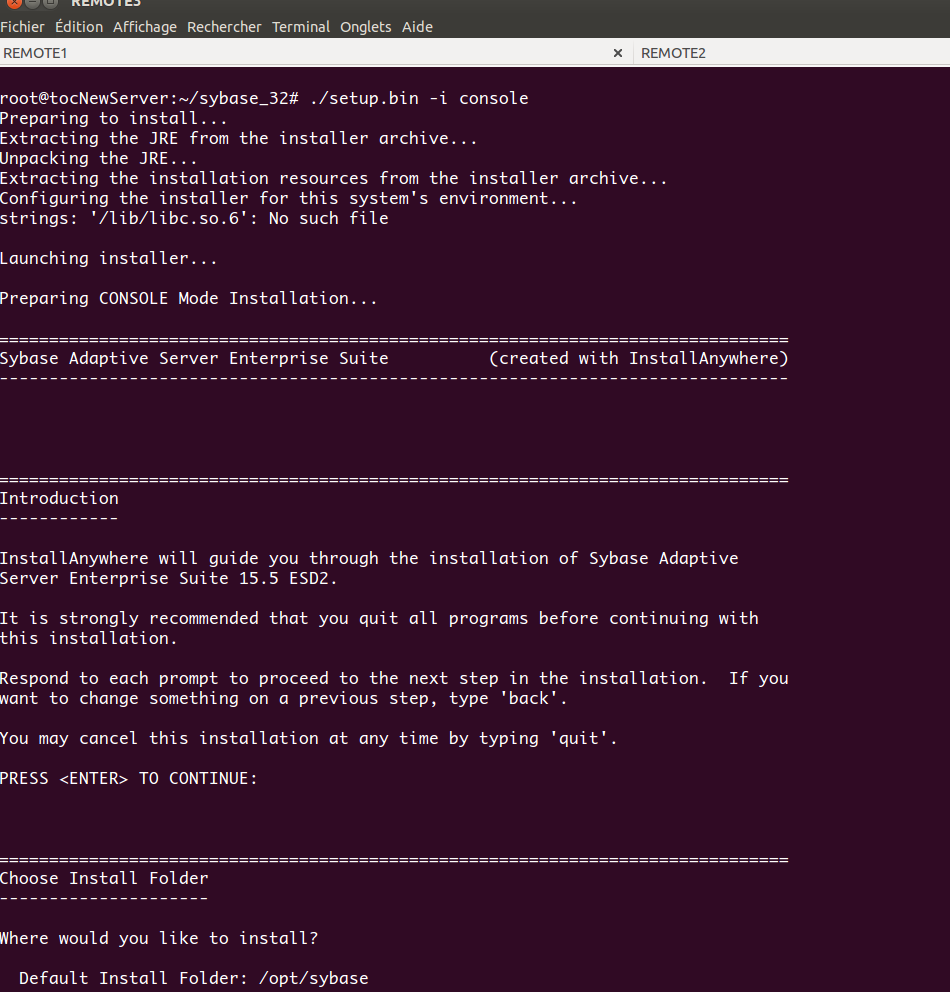
Puis suivez les instructions :
===============================================================================
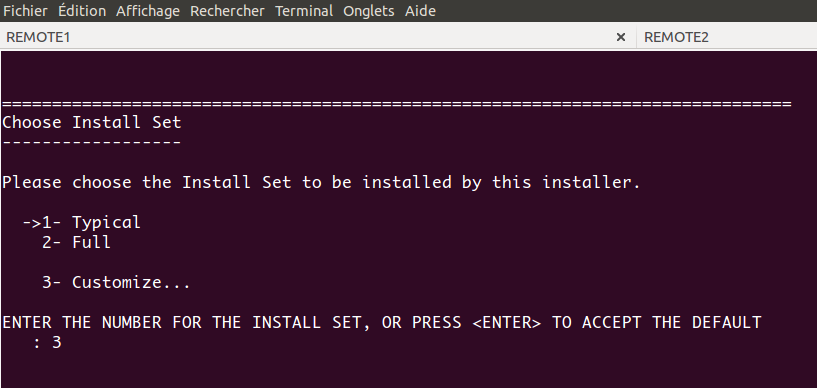
Choose Install Set
------------------
Please choose the Install Set to be installed by this installer.
->1- Typical
2- Full
3- Customize...
ENTER THE NUMBER FOR THE INSTALL SET, OR PRESS <ENTER> TO ACCEPT THE DEFAULT
: 3
Ce sui nous interesse c’est la partie client : on va donc installer : les libs (client + ODBC) et aussi le precompilateur C et les driver JDBC au cas ou un jour on veut faire du Java :).
===============================================================================
Choose Product Features
-----------------------

ENTER A COMMA_SEPARATED LIST OF NUMBERS REPRESENTING THE FEATURES YOU WOULD
LIKE TO SELECT, OR DESELECT. TO VIEW A FEATURE'S DESCRIPTION, ENTER
'?<NUMBER>'.  PRESS <RETURN> WHEN YOU ARE DONE:

    1- [-] Adaptive Server Enterprise
    2-  |-[ ] Additional ASE Language Modules
    3- [-] Open Client
    4-  |-[X] DB-Library
    5-  |-[ ] Embedded SQL/C
    6-  |-[ ] Embedded SQL/Cobol
    7-  |-[ ] Additional Connectivity Language Modules
    8- [X] jConnect 6.0 for JDBC
    9- [X] jConnect 7.0 for JDBC
   10- [X] ASE ODBC Driver
   11- [ ] Monitor Client Library
   12- [X] Interactive SQL
   13- [X] QPTune
   14- [X] Sybase Central
   15-  |-[X] Adaptive Server Plug-in
   16-  |-[X] SySAM Plug-in
   17-  |-[X] Agent Management Console
   18- [-] SySAM License Utilities
   19-  |-[ ] SySAM License Server
   20- [-] Unified Agent
   21-  |-[X] ASE Agent Plug-in
   22-  |-[ ] ASE SNMP Agent Plug-in
   23-  |-[ ] SySAM Agent Plug-in

Please choose the Features to be installed by this installer.: 1,5,6,7,14,18,20

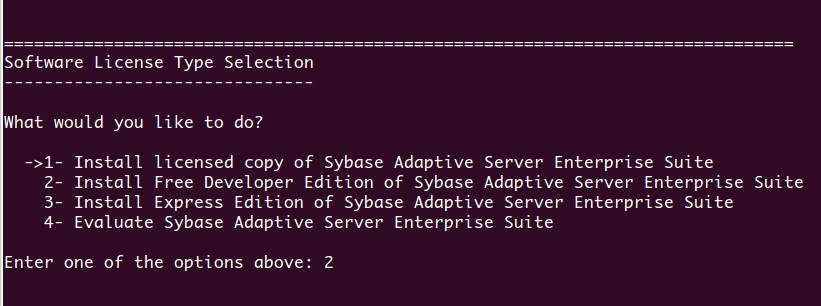
Puis on choisi le type de la licence (Developer) :
===============================================================================
Software License Type Selection
-------------------------------

What would you like to do?

  ->1- Install licensed copy of Sybase Adaptive Server Enterprise Suite
    2- Install Free Developer Edition of Sybase Adaptive Server Enterprise Suite
    3- Install Express Edition of Sybase Adaptive Server Enterprise Suite
    4- Evaluate Sybase Adaptive Server Enterprise Suite

Enter one of the options above: 2
Voici un résumé des options d’install qu’on a choisi :
I agree to the terms of the Sybase license for the install location
   specified. (Y/N): Y

===============================================================================
Pre-Installation Summary
------------------------

Please Review the Following Before Continuing:

Product Name:
    Sybase Adaptive Server Enterprise Suite

Install Folder:
    /opt/sybase

Product Features:
    Open Client,
    DB-Library,
    Embedded SQL/C,
    Embedded SQL/Cobol,
    Additional Connectivity Language Modules,
    jConnect 6.0 for JDBC,
    jConnect 7.0 for JDBC,
    ASE ODBC Driver,
    Interactive SQL,
    QPTune

Disk Space Information (for Installation Target):
    Required:  535,329,536 bytes
    Available: 83,133,968,384 bytes

PRESS <ENTER> TO CONTINUE:

Puis on lance l’install :
===============================================================================
Ready To Install
----------------

InstallAnywhere is now ready to install Sybase Adaptive Server Enterprise Suite
onto your system at the following location:

   /opt/sybase

PRESS <ENTER> TO INSTALL:

===============================================================================
Installing...
-------------

 [==================|==================|==================|==================]
 [------------------|------------------|------------------|------------------]

===============================================================================
Installation Completed
----------------------

The installation was successful.

Please check regularly for updates at http://www.sybase.com/downloads.

If you have not done so, please go to https://sybase.subscribenet.com to obtain
the Sybase software licenses.

PRESS <ENTER> TO EXIT THE INSTALLER:
root@tocNewServer:~/sybase_32# echo $?
0
root@tocNewServer:~/sybase_32#
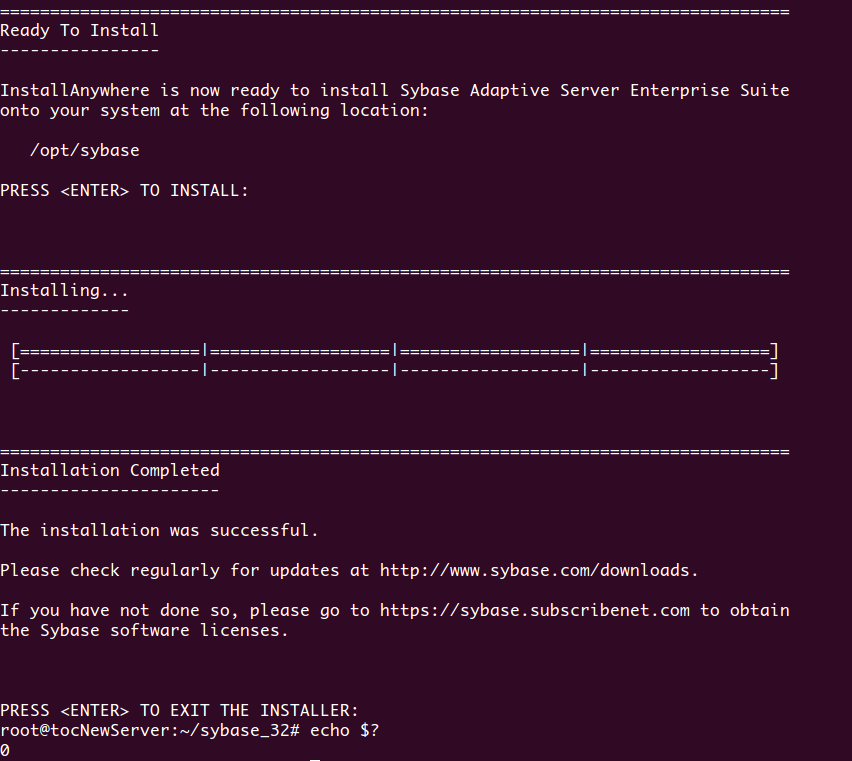
Une fois que l’install est terminé on aura normalement tout ce qu’il faut pour developper dans : /opt/sybase.
Il nous reste une petite chose avant que la configuration soit fonctionnelle : créer le fichier qui contiendra les infos de connexion /opt/sybase/interfaces, qui contient l’adresse du serveur Sybase, dans mon cas ça ressemble a ça :
toc@tocNewServer:/opt/sybase$ cat interfaces
TCOSERVER
	master tcp ether 192.168.1.95 5000
	query tcp ether 192.168.1.95 5000

toc@tocNewServer:/opt/sybase$
Dans un prochain article, on verra comment on peut utiliser Embedded SQl (ou SQL embarqué dans du code C) pour accéder a Sybase.
